
Sensory Bottles
I read about sensory bottles in a number of places (like here, here, and here). I remember when I was teaching, an EC teacher used to bring some in for students with Autism who needed calming down. I felt like Harris could use a little help calming down as well, so I researched how to make sensory bottles.
There are a lot of different ways to make these, and I tried probably ten different ways. I’ll tell you about the simplest and most effective.
What You’ll Need:
-Glitter glue: I recommend Elmer’s Classic Glitter Glue. I ordered a four pack from Amazon because I knew I would use it for other things as well. Amazon also has their own brand, which I didn’t realize until I put the link up. I’m sure that would work. Dollar Tree also sells glitter glue. Blue is the best color for sensory bottles, in my opinion.
-Glitter: I bought two large bottles of glitter from Target because, again, I knew I would use it for other things. You can get glitter at Dollar Tree, Wal-Mart, Target, Amazon, etc. I recommend the normal glitter, not too big, not too small. My favorite color after experimenting is silver. I experimented with big glitter, shaped glitter (butterflies), and tiny glitter (“sparkling glitter”). The normal glitter just works the best.
-A plastic bottle: This is personal preference. I like the Bai water bottles (pictured) because they are smooth, a good size, and have a solid cap. But any water bottle would work. If the cap is kind of flimsy, definitely be sure to have a hot glue gun or gorilla glue so it doesn’t come off when shaking the bottle.
What To Do:
This is mostly an eyeball situation. I recommend putting the glitter in first, then the water, then the glue. Be sure the water is hot. I didn’t boil it or anything- our hot water heater can come out really hot, so that was all I needed. I added about two tablespoons of glitter, filled the water bottle to the top with about two inches left, squeezed in about fifth of the bottle of glitter glue, put more water, and closed the cap. The more glitter glue you use, the slower the glitter will float. If you find your glitter is sinking really quick, add more glue. If the glitter is clumping into a ball, you will need to start over with hotter water. It is a super simple process, but can take a while to get the formula you like.
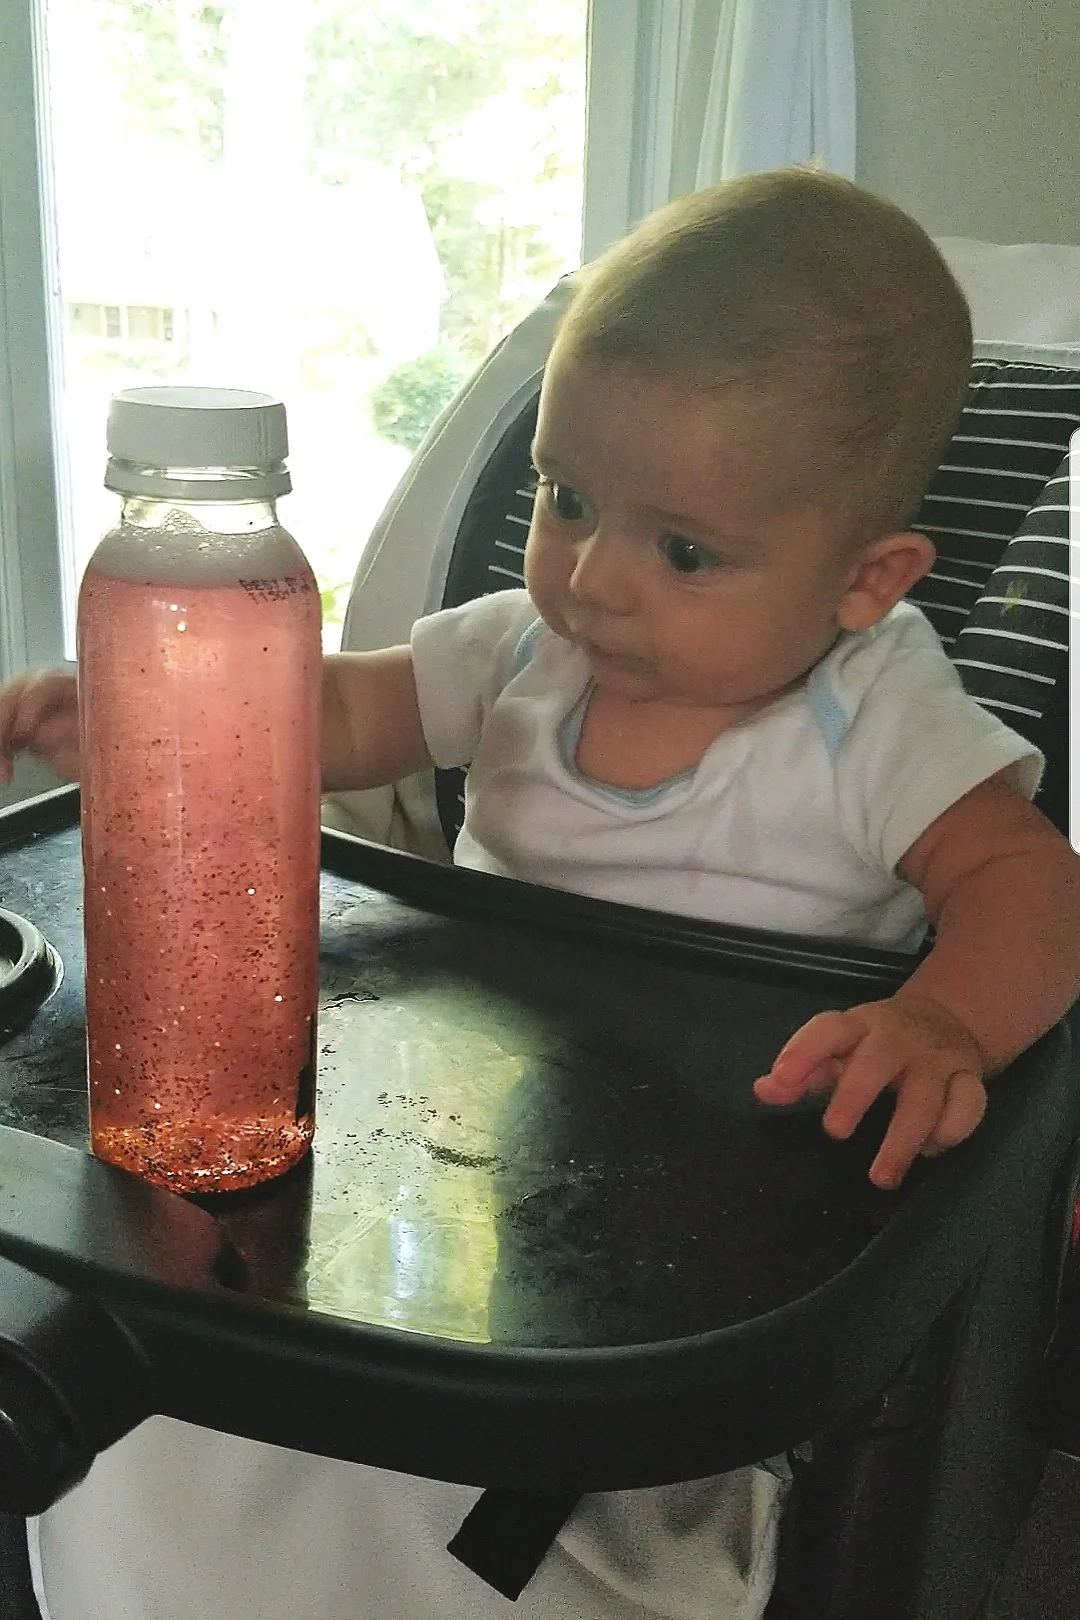
You can experiment with colors. The two pictures with Harris show a red glitter glue and gold glitter combination. To me, it came out looking a bit dirty, but Harris doesn’t seem to mind. My favorite combination so far is the blue glitter glue with the silver glitter (top picture). It just looks clean to me. Experiment with your own combinations and comment below which ones are your favorite!
How to Play:
I use these bottles as a way to calm down Harris when he is fussy or crying. They actually worked when he was having colic fits, believe it or not! I would lay him down, shake a bottle up, and let him look at it. It is distracting and calming enough that it truly is effective.
You can also use it for tummy time by placing it in front of him and shaking it periodically while he holds his head up to see it. The bottles are also great for high chair time (pictured) during dinner as a way to keep him occupied while you try to eat in peace. Once he can grasp it on his own, you could offer it during car rides as well. If you aren’t supervising one hundred percent of the time, just be absolutely sure the cap will not come off, as glitter can be dangerous for an infant to digest or get in his/her eye. You can hot glue gun the cap closed or use Gorilla glue. Simple Elmer’s glue would not keep it closed securely enough.
Sensory bottles are a super easy but effective way to soothe your crying or fussy baby. And it feels good to make something that your baby finds comforting.


